Just recently I went over my sister’s house to fulfill a Christmas promise. My niece asked for us to spend time together me, my sister and my niece for her Christmas present. So we set a Saturday morning date for some Ayurvedic based self-care, a whole food home facial experience.
Learning to take care of yourself is taught in Ayurveda as a pillar of health. In America we are not so consistent at teaching our kids self-care or modelling healthy behavior for them. To me supporting health means aligning with larger rhythms getting enough sleep and taking good care of myself. Sharing a natural approach to skin care with my sister and my teenage niece is a great way to share and model healthy behavior.
Skin’s Job
Skin in the western world is often called the largest organ of the body, in Ayurveda it is an upadhatu of mamsa directly related to muscle tissue. Skin covers and protects our muscles. Skin breathes. It is intelligent about letting wastes out and good stuff into our bodies. It has seven layers and its own biome.
But we live in a world filled with products and pollutants that stress our skin health. Taking active care of the skin on your face supports that biome and all your sense organs. One way is to augment daily cleaning with regular facials. You can do a facial once a month or seasonally in spring and fall for glowing vibrant skin.
Why do An Ayurvedic At Home Facial?
Facials at a salon are pricey for two people. At home you have control of what you use and when you do this. This is a fun hands on mother daughter project. You want to feed your skin like you feed your body, use organic natural foods and minerals to cleanse, moisturize and remove toxins from your skin.
- Facials increase blood circulation to the skin promoting renewal of skin cells which will overall give you a nice skin glow!
- A facial can also help clean your pours and maintain small pore size.
- Deep cleaning smooths the skin, improves the skin’s ability to retain moisture and evens out skin tone. Fight the aging process. Improved hydration and circulation can reduce fine lines and age spots.
- Massage of your face relaxes all the muscles and soothes the nervous system
- Food based antioxidants applied to the skin will make your skin feel softer and more healthy looking.
Cautions
Be careful to keep all the ingredients away from your eyes. If you have allergies or skin sensitivities check with your doctor and test on your inner forearm before applying any new foods or clay to your face. Never aggravate open sores or rashes on the skin. Never use food products you are allergic to on your skin.
Elements Of A Home Facial
A home facial is a multi step process. It may seem like a lot the first time you try it at home, but it gets really easy after a couple of run-throughs. The key in my opinion is to make sure you gather up all the ingredients you need so you can flow seamlessly from one step to the next and keep the mess to a minimum.
Here is an example of a home facial. I learned about home facials in The Living Ayurveda Course with Cate Stillman. It takes about an hour to complete.
I use small paper bowls and a squirt bottle for the mixes and rinse at the sink. I make all the milk ahead, but mix the pastes as I go.. For the steam I use large stainless bowls and a big towels for the steam tent. I warm the milk in a sauce pan. I have two face cloths for each person one to help clean off the masks and one to blot moisture.
Pre-facial Setup Steps
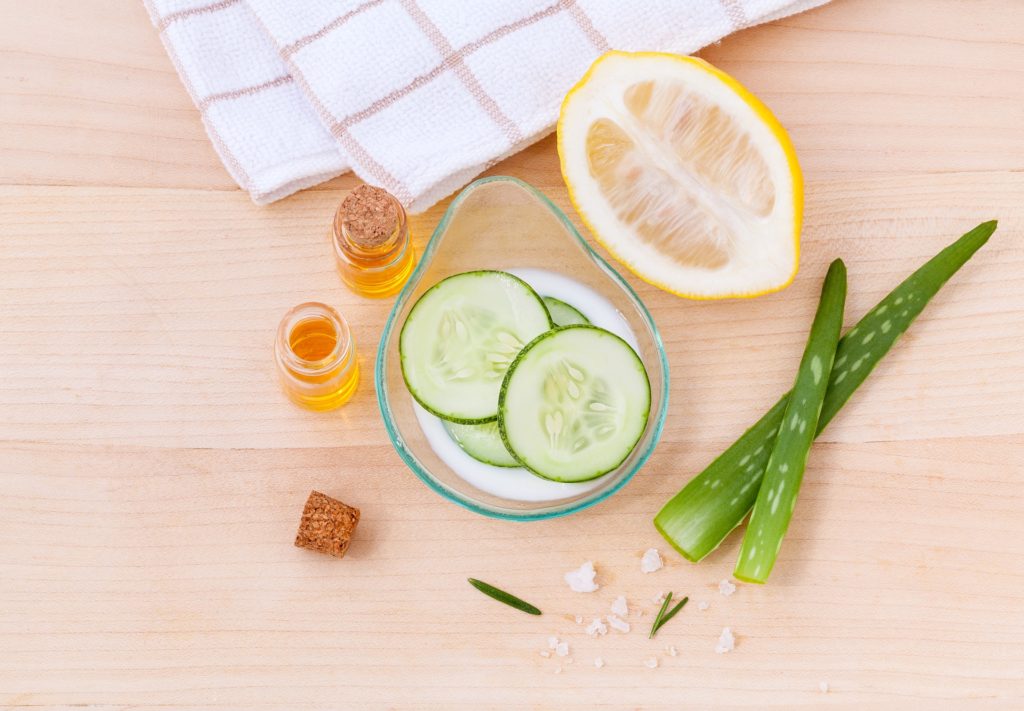
- Gather equipment and supplies. Mash a 1/2 an avacado each person into a paper bowl. Slice a cucumbers 3 slices per person. It is more hygienic for each person to have their own bowl for each step. Hence the small paper bowls. Set up your yoga mats to lie down on.
- Pour water for each person and add a cucumber slice. Sip water with a cucumber slice during the facial.
- Do some facial exercises and neck and shoulder relaxers to begin to improve blood flow to the area and relax.
- Home facials work in the kitchen for a two to four people. You need a sink and the stove. Have a place to relax and lie down on a yoga mat nearby.
- Premix the dry herbs in a small glass jar for ease of use. Mix equal amounts by volume of each powder. If you don’t have an herbal apothecary in your house skip the herbs and use plain chickpea flour. No Big Deal
Example Herb mix : Aloe vera powder, coriander, calamus, comfrey elder flowers fenugreek, lemon peel, licorice, manjistha, nutmeg, tulsi, sandalwood, vertiver. This mix of herbs is from Ayurvedic Beauty Care by Melanie Sachs page 163.)

Home Facial Steps
Cleanse
- Cleanse – Mix water or milk with chickpea flour. A pinch to ¼ tsp of herb mix to 3 Tablespoons of flour per application. If a herb mix is just too much go for plain chickpea flour. Don’t stress it.
- Play with what makes sense for your skin. I just use water and chickpea flour and add a pinch of lavender flowers. Rinse with water or warm milk with a spritz of rose water.
Moisturize & Massage
- Massage – Gentle massage with a light oil like jojoba oil.
Exfoliate
- Scrub – Oat Flour with Rose petals and water. Be Gentle with applying the scrub. Don’t over do it. Allow it to dry. Rinse to Calm & Soothe Organic Milk or water can be used to rinse.
Steam
- Open – Use Steam bath or a warm compress to open pores. Add essential oil just a drop or 2 to the warm water for extra effects, like eucalyptus for its disinfecting properties or lavender to calm and soothe the skin. 5 to 10 minutes max.
Detox Clean Out Pores
- Detoxify Use a Mask Bentonite Clay and water. Mix to a paste and apply to skin allow to dry.Rinse with Water or Milk with rose water.
Tonify
- Tone – Spritz with organic rose water and blot lightly
Deep Hydration
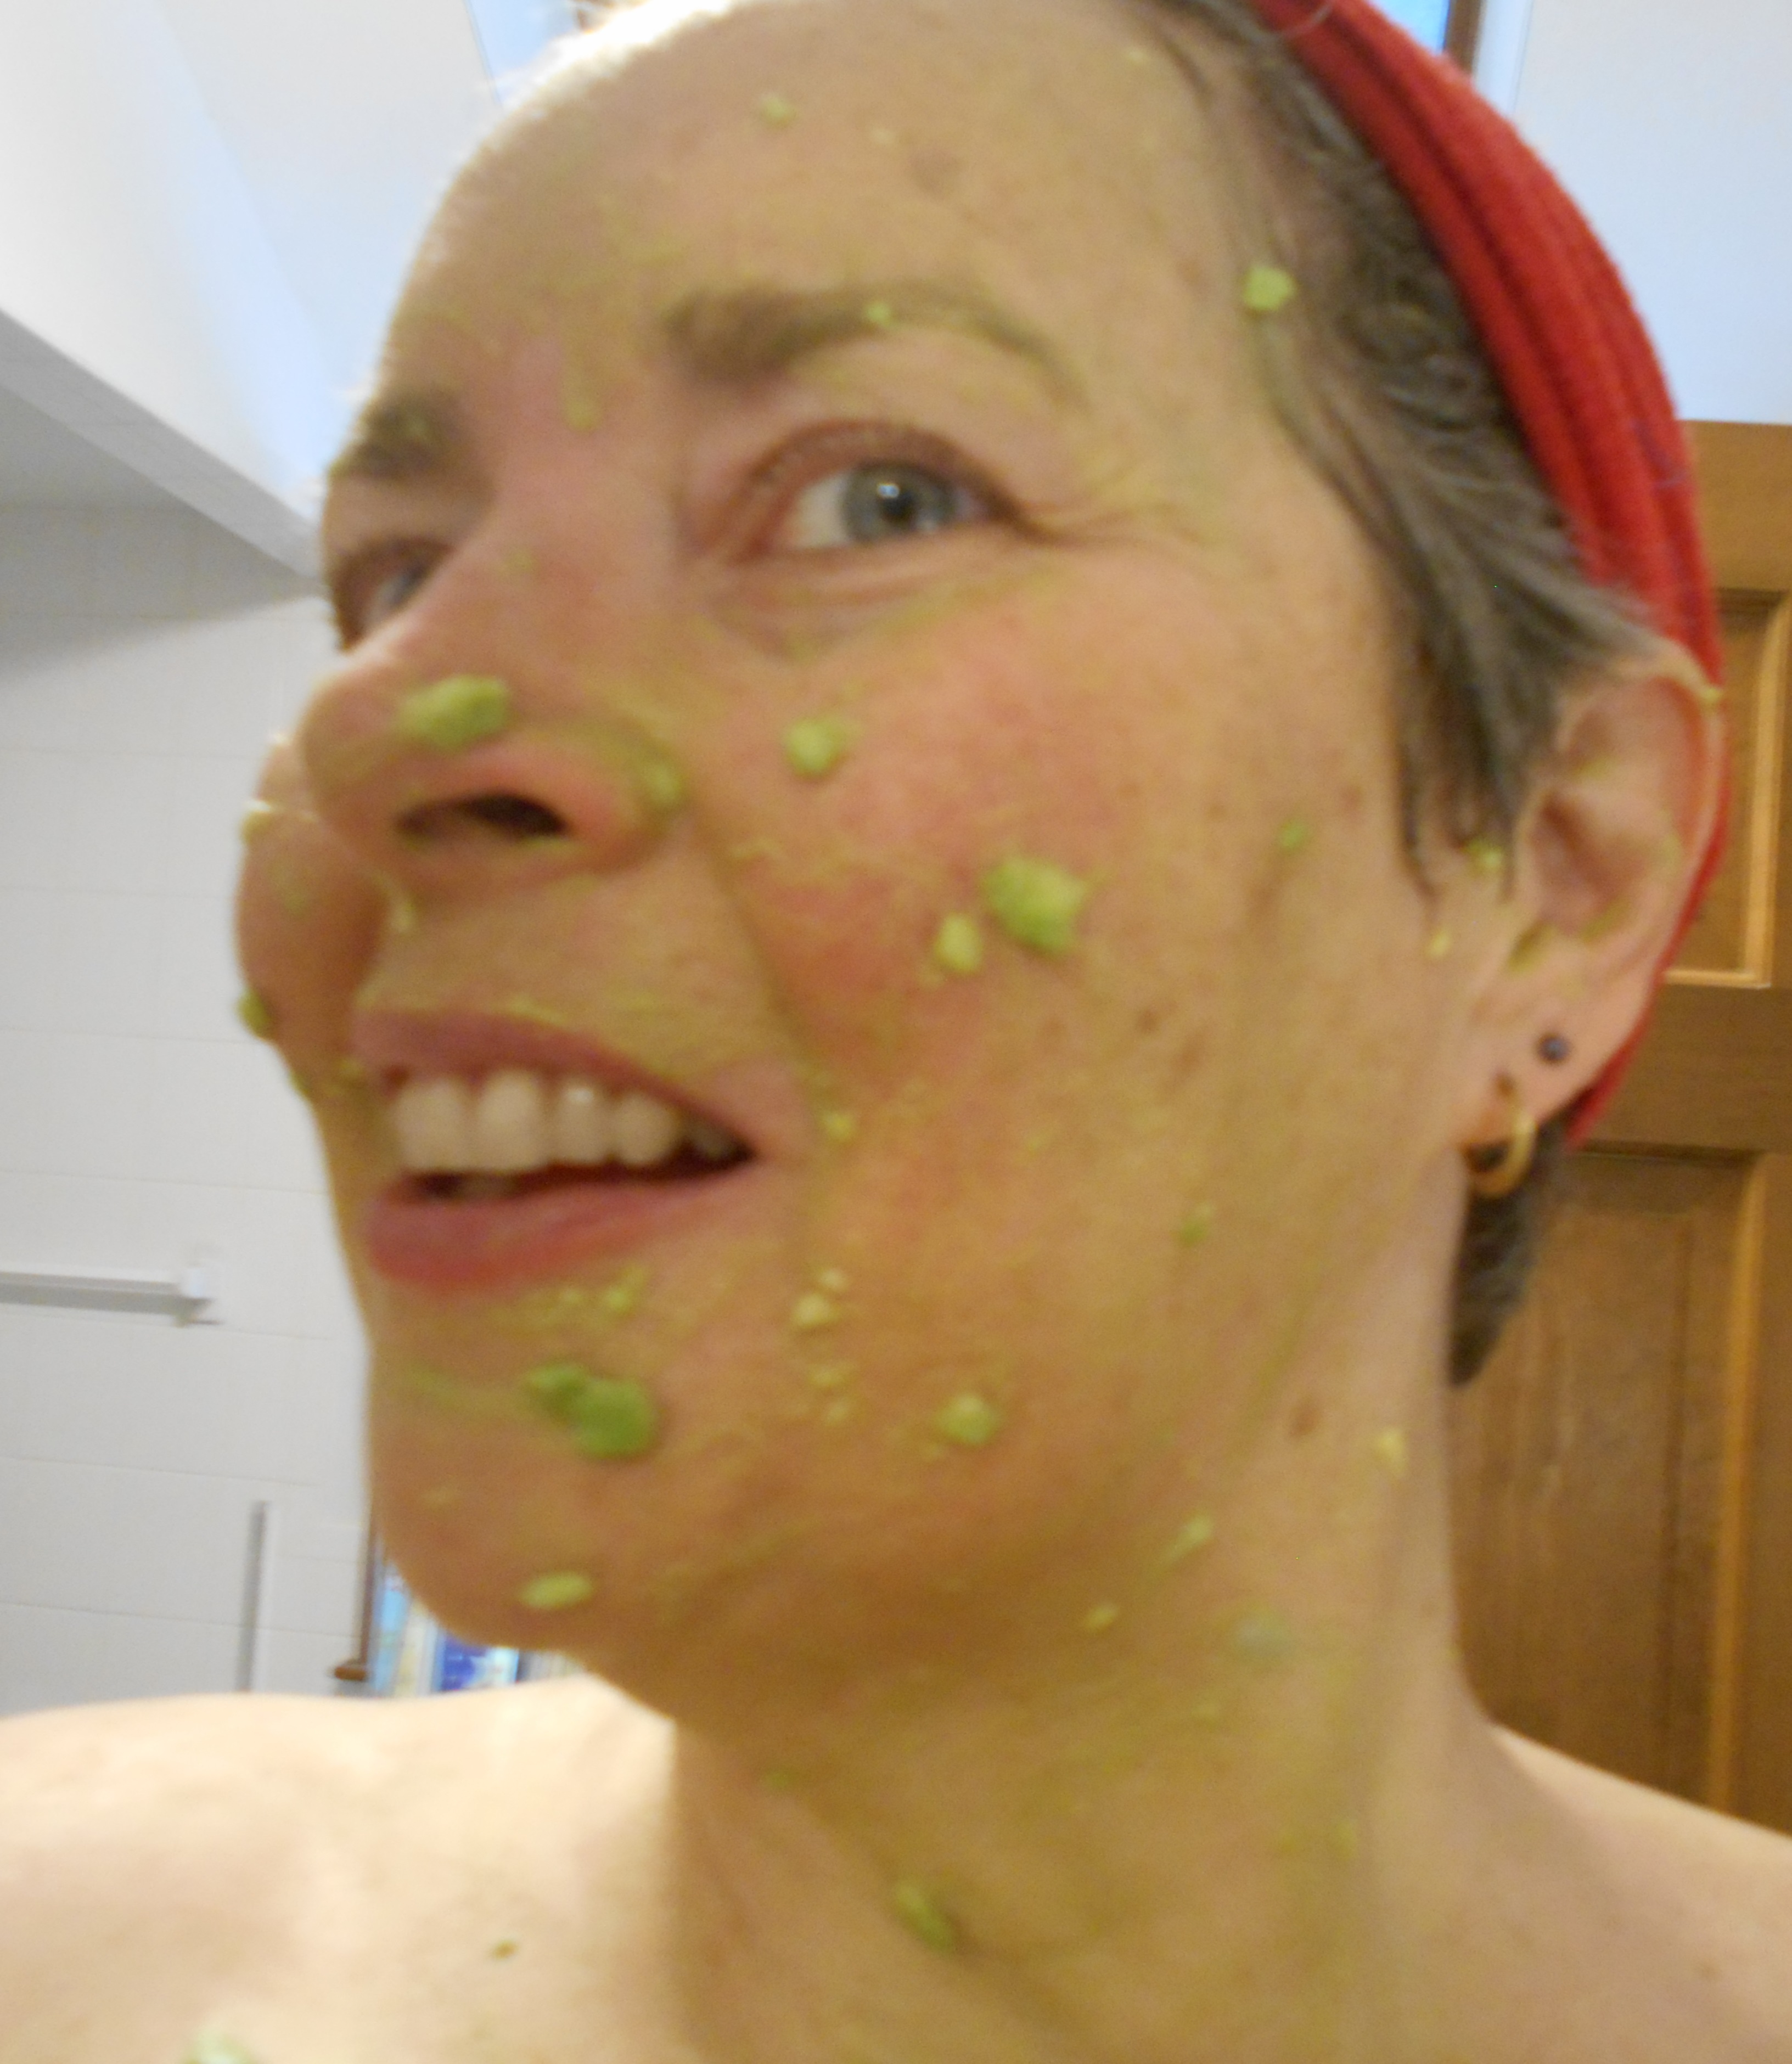
- For a hydrating mask try a mashed organic avocado. Apply it to your face and lie down for 10 minutes with cucumber slices on your closed eyes. Rinse with Water or the warm milk with rose water mixture.
Moisturize
- Moisturize with Organic oil coconut, almond or jojoba
Dink Water. Be sure to hydrate well for the day of and day after your facial experience.
This home facial was a gift for all of us. It gave us time to talk without phones in hand, feel joy and satisfaction in taking care of ourselves. Model natural self care with your teenager.
Ayurselfcare’s purpose is to educate on the benefits of Ayurveda. This blog is not a substitute for professional medical care, treatment or advice. All the material here is for learning purposes only. Always share strategy and work with your health care team.
